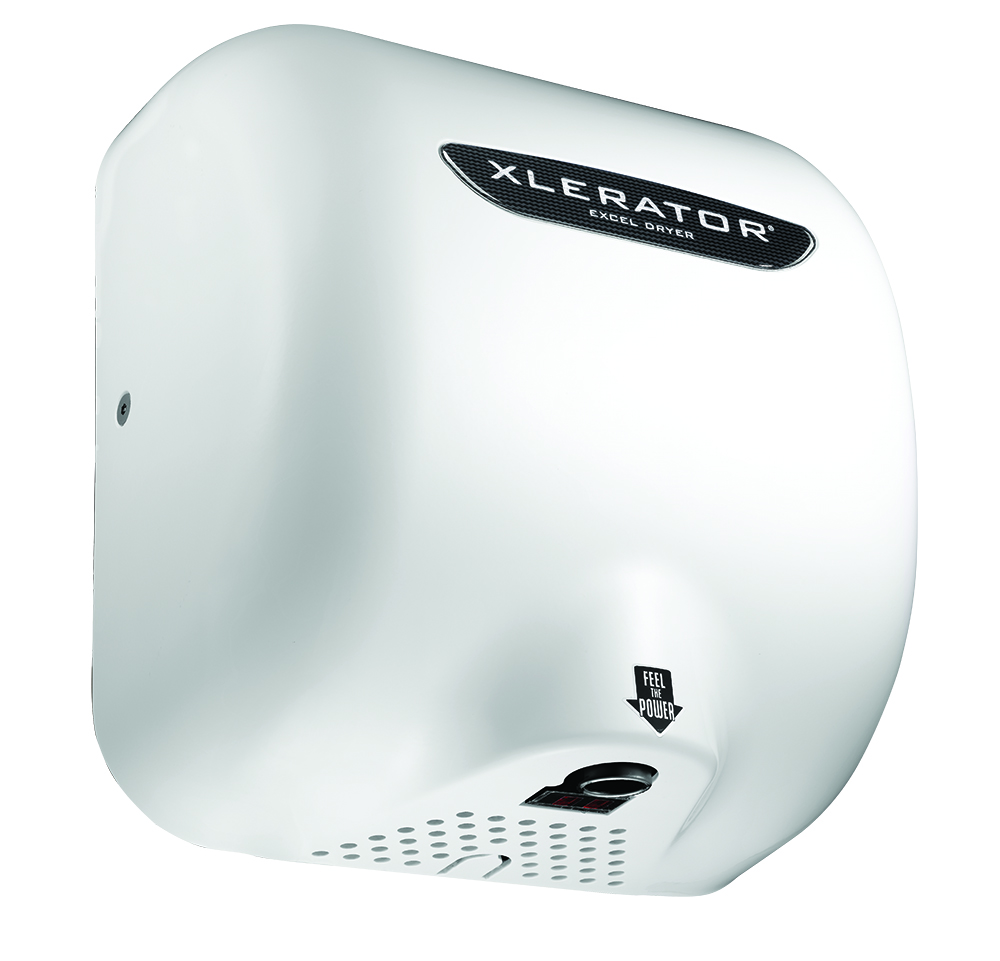
Excel Dryer has made it incredibly easy to troubleshoot any issue with your XLERATOR Hand Dryer. The troubleshooting chart below is for dryers’ with the LED light located in the sensor at the bottom of the dryer. For older models, please see the troubleshooting tips under Old Model Troubleshooting Tips.
Code Chart for XLERATOR Hand Dryers
Codes are displayed by the flashing of the red LED in the sensor adjacent to the air outlet. Normal operation is indicated by the red LED being on when not drying and off when motion is detected under the sensor.
| Code | Possible Problem | Possible Solution | Notes |
DRYER MAINTENANCE CODES
| 1 SHORT / 1 LONG FLASH | A Clogged Pre-Filter is possible. | Clean Pre-Filter, rinse & reinstall Pre-Filter. | Dryer will still run but flash a code for maintenance. |
| 1 SHORT / 2 LONG FLASH | Severely clogged Pre-Filter. | Clean Pre-Filter, rinse & reinstall Pre-Filter. | Dryer stops operation until Pre-Filter is cleaned. |
| 2 SHORT / 1 LONG FLASH | Dryer is in lockout mode, possibly due to mounting over a counter or a sink, or range set too high. | Adjust the sensor range by turning the range adjustment knob counterclockwise to decrease. | Dryer stops operation until the obstruction is cleared. |
MOTOR CODES – FIRST VERIFY THAT THE DRYER IS RECEIVING THE CORRECT VOLTAGE.
| 1 LONG / 3 SHORT FLASH | Motor Over Current – Verify dryer is receiving the correct voltage per rating on sticker on Blower Housing. | If voltage is correct, reset circuit breaker in electrical panel box. If problem not resolved, replace the Control Assembly. | Dryer will Stop Operation. |
| 1 LONG / 4 SHORT FLASH | Motor Over Current – Verify dryer is receiving the correct voltage per rating on sticker on Blower Housing. Motor Brush could be hung up or worn out. Wire in motor disconnected. | If voltage is correct, reset circuit breaker in electrical panel box. Replace Motor or Brushes. Reconnect Wire if disconnected. | Dryer will Stop Operation. |
HEATER CODES – FIRST VERIFY THAT THE DRYER IS RECEIVING THE CORRECT VOLTAGE.
| 2 LONG / 3 SHORT FLASH | Shorted or incorrect heater. Dryer could be on higher voltage than rated. Motor may have failed. | Verify voltage matches rating sticker on Blower Housing. Replace Heater if broken, or Replace Motor. | Dryer will Stop Operation. |
VOLTAGE CODES – FIRST VERIFY THAT THE DRYER IS RECEIVING THE CORRECT VOLTAGE.
| 3 LONG / 3 SHORT FLASH | Main Panel Over Voltage possibly due to power outage or surge. | Check incoming voltage. Reset circuit breaker and see if code is still there (run for 10 seconds) | Dryer will Stop operation. |
| 3 LONG / 4 SHORT FLASH | Main Panel under Voltage | Check incoming voltage. Reset circuit breaker and see if code is still there (run for 10 seconds) | Dyer will Stop Operation. |
CONTROL CODES
| 4 LONG / 3 SHORT FLASH | Over temperature fault. | Reset circuit breaker to clear error code. Replace Control Assembly. | Dryer will Stop Operation. |
Run dryer for at least 10 seconds after power has been reset to make sure trouble code has been cleared.
Old Model Troubleshooting Tips
For older open green circuit controls with no LED light, first test the sensor by unplugging it from the unit and bringing it to another unit to test. If it works in the other unit, then proceed to test for proper motor operation. If motor works according to the procedure listed below, then the only item between the sensor and the motor is the Control itself.
For models with the LED light in the Control, or if Control has been replaced and LED is now in sensor:
IF LED LIGHT IS ON:
Place hands under sensor. If light stays on, then you have a bad sensor. If light goes off but still no operation, check the wiring against the schematic on the dryer. If both are OK, test for defective motor.
IF LED LIGHT IS OFF:
Confirm power is going to dryer, check wiring for loose, disconnected or improper wiring at Control, or replace Control.
IF LED LIGHT IS FLASHING IN CONTROL OR SENSOR:
Dryer is in lockout mode – adjust the sensor range by turning the range adjustment knob on the Control counterclockwise towards the “L” position and reset the circuit breaker at the electrical panel box.
IF DRYER RUNS CONTINOUSLY:
Make sure sensor range is not too high on Control. If so, adjusting the range counterclockwise towards the “L” position may fix the problem. If not, replace Control.
TO TEST FOR A DEFECTIVE MOTOR – DISCONNECT POWER TO UNIT AT ELECTRICAL PANEL FIRST.
Trace the wire that leads from the heating element to the Control (this will be attached to Terminal 3 or 4 on Control). Disconnect that terminal end from the Control. Remove the wire attached to Terminal 1 on the Control (this is Terminal 2 on older open green circuit controls) and attach it to the terminal that was removed. Restore power and is motor is good, it will start immediately.
If you have any questions or concerns don’t hesitate to contact us here at AML.


